Diamond grinding & surface prep · Western Sydney

Concrete grinding & surface prep

Diamond grinding opens up the slab, takes off old coatings and evens out high spots. It is the step that lets epoxy, sealers and overlays bond properly, and it can leave a clean, honed finish on its own.
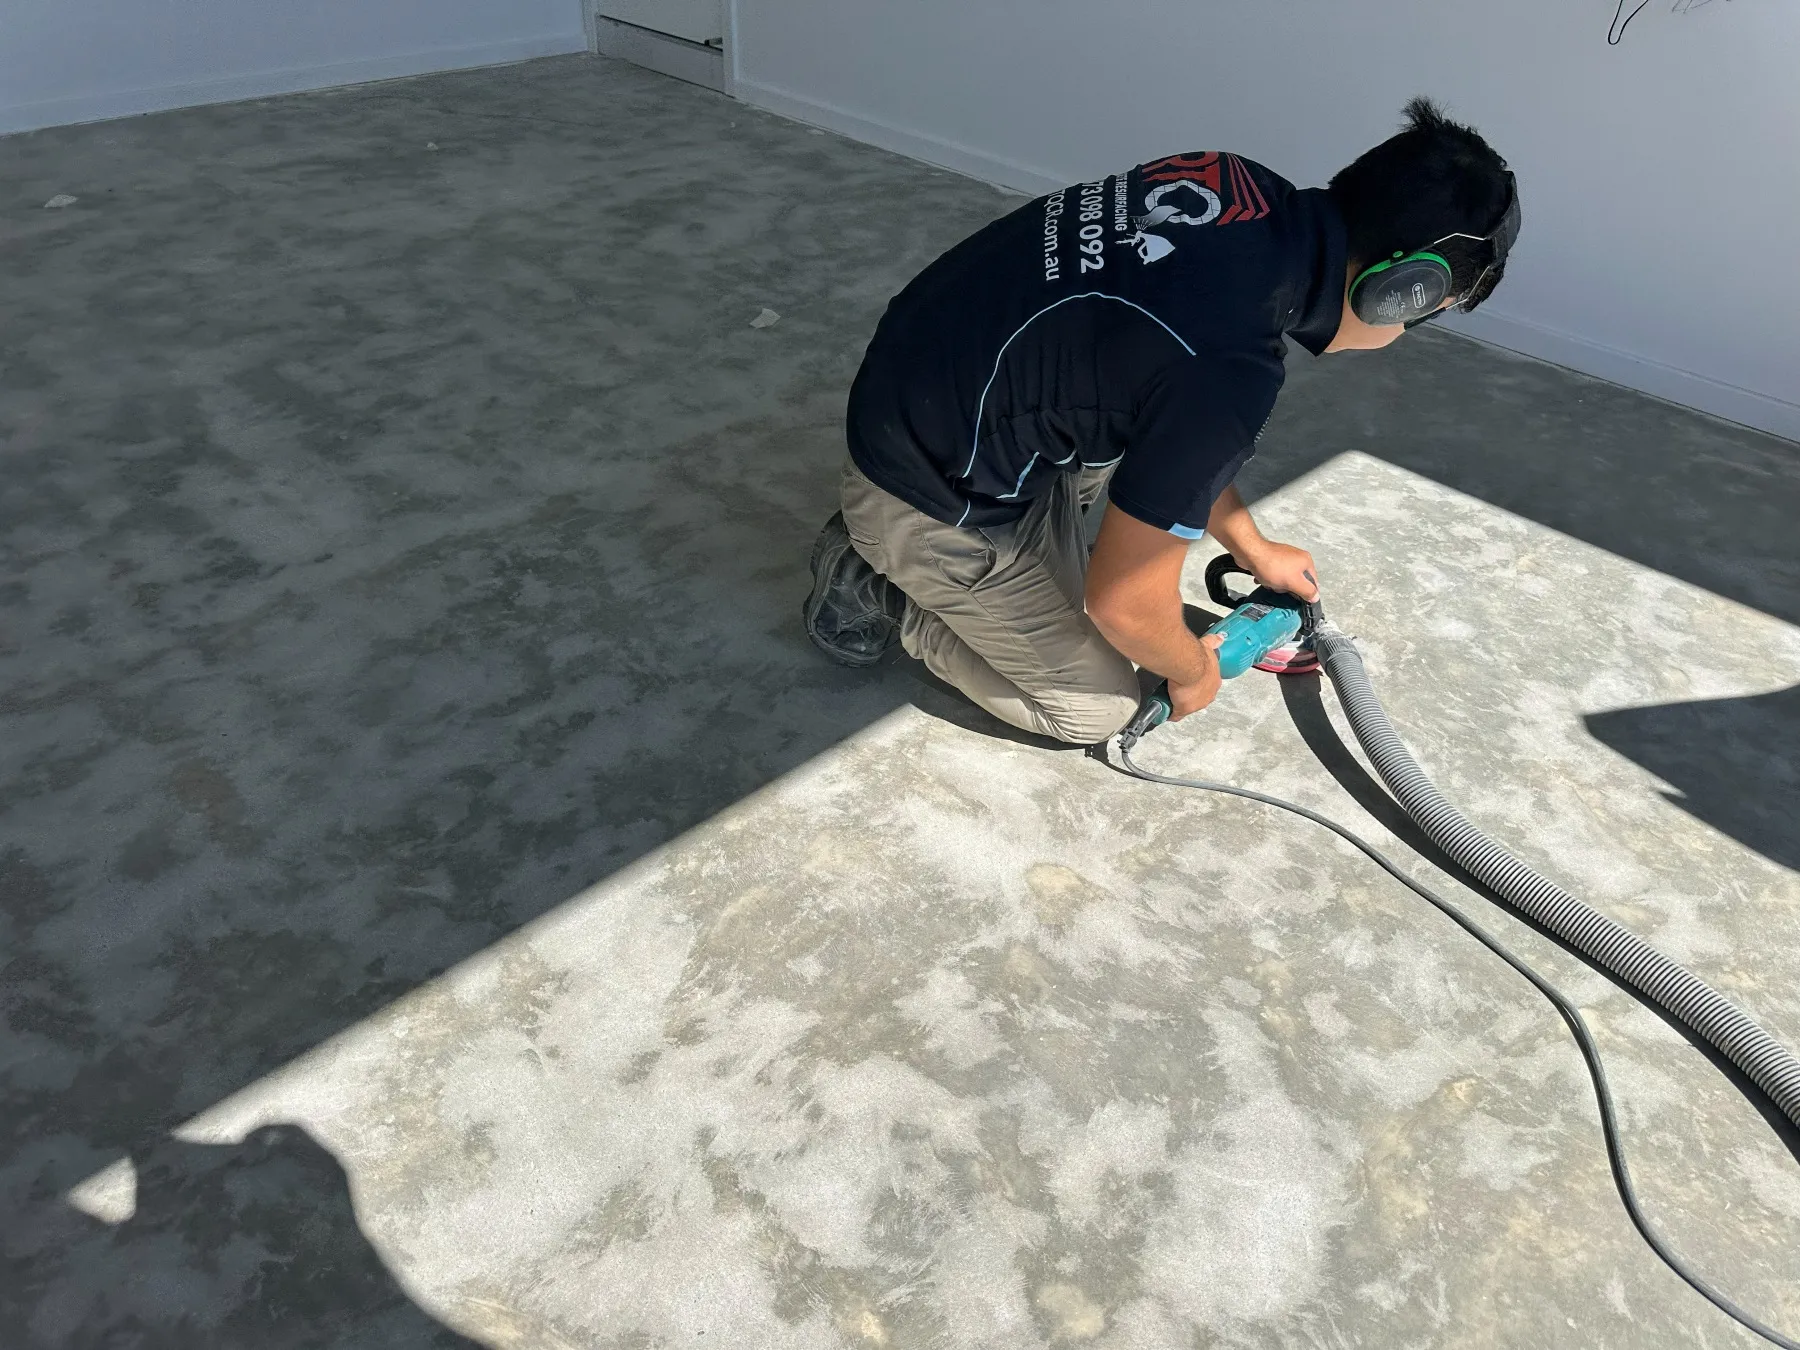
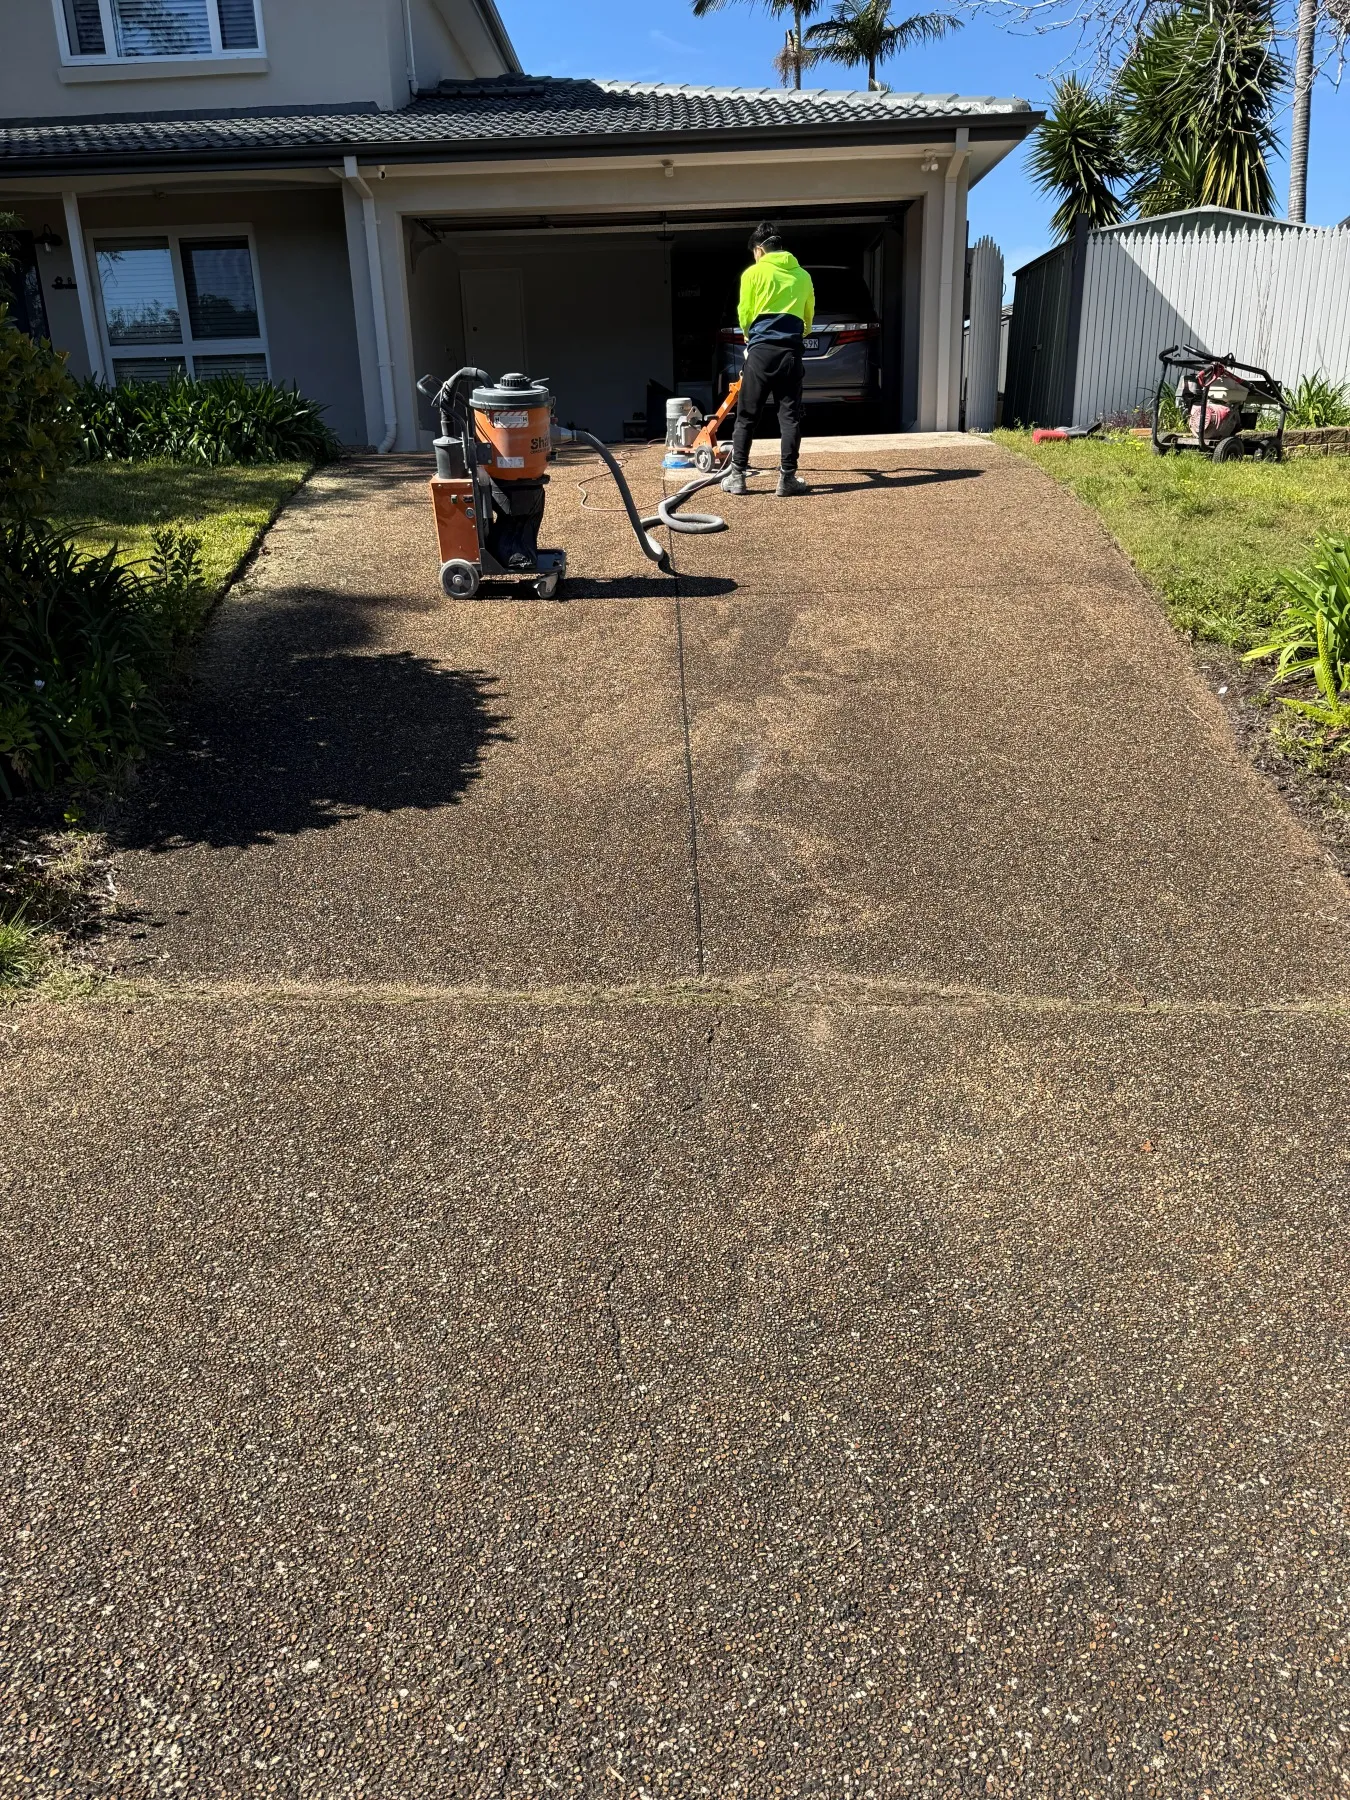
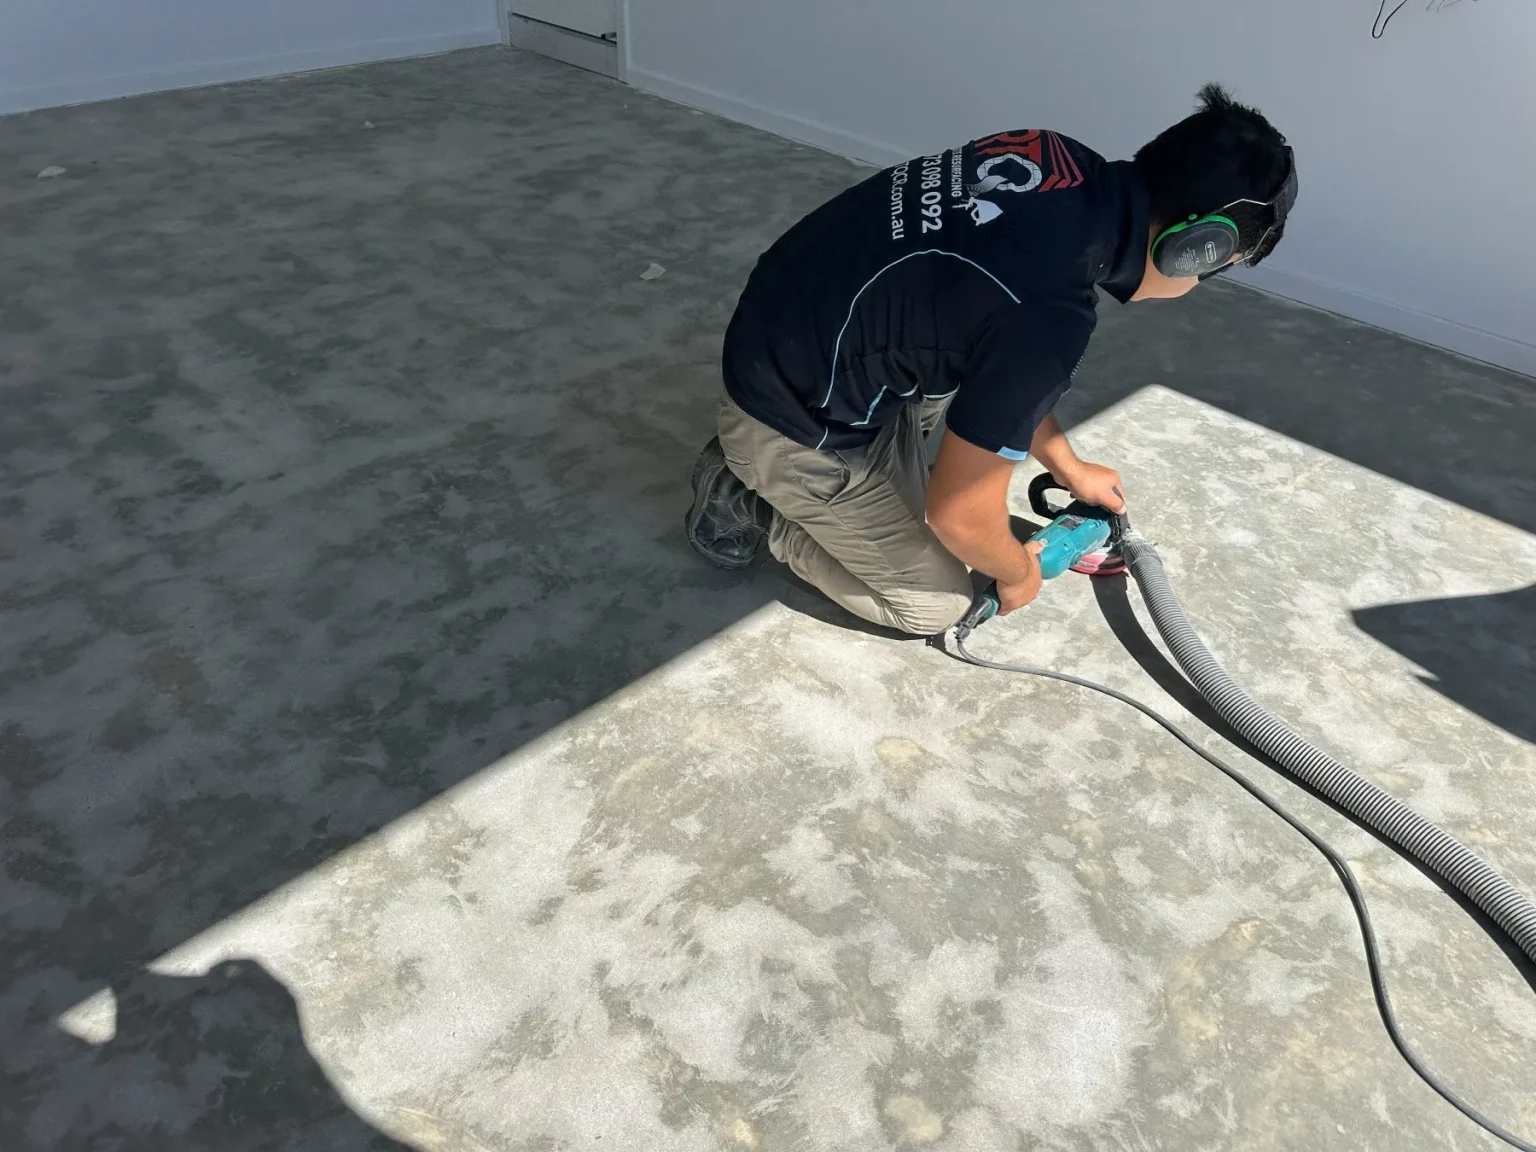
RTQ team member diamond grinding a concrete garage slab
Best for
Garages, workshops, warehouses, coated slabs
Removes
Paint, sealers, old coatings, lips
Used before
Epoxy, sealing & resurfacing
Quote
Free on-site measure

Why it works

Why grinding matters

Coatings that stick

Grinding opens the surface so epoxy and sealers bond into the concrete, not just sit on top.

Old coatings gone

Peeling paint, tired sealers and failed coatings are taken back to sound concrete.

Flatter surface

Lips between slabs, high spots and trowel marks are ground down.

Clean honed look

On sound slabs, a ground and sealed finish gives a simple, modern look.

Why it comes first

The part of the job that decides how long it lasts

Most coating failures, like epoxy lifting or sealers peeling, come back to poor preparation. A smooth, dusty or previously coated slab gives a new coating nothing to grip. Diamond grinding removes the weak top layer and leaves an open, clean surface, which is why we grind every slab before an epoxy floor.

What we grind

Common grinding jobs

Grinding can be the whole job, or the first stage of a bigger one.

  1. 01

    Coating removal

    Old paint, sealers and worn epoxy taken back to bare concrete.

  2. 02

    Epoxy prep

    Opening the slab so a new epoxy system bonds properly.

  3. 03

    Levelling

    Grinding down lips between slabs, high spots and trowel marks.

  4. 04

    Clean-up

    Surface stains and contamination ground out before sealing.

Proof
Recent projects

All projects
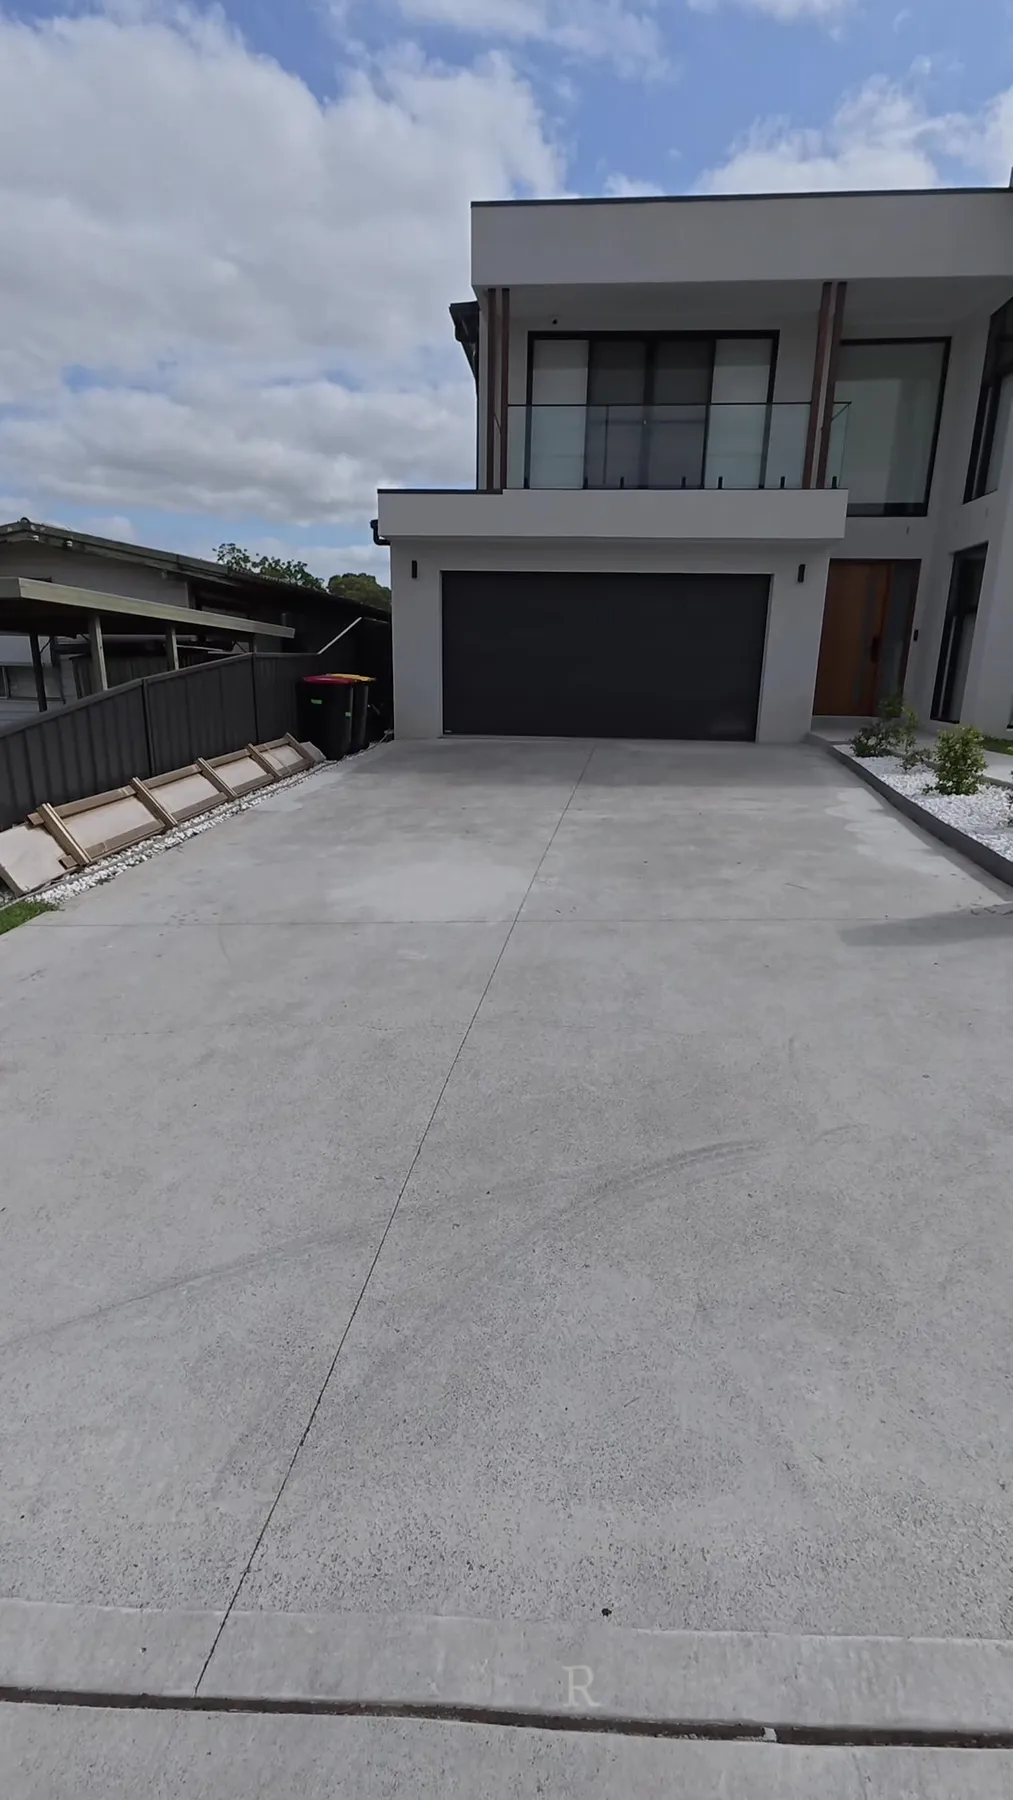
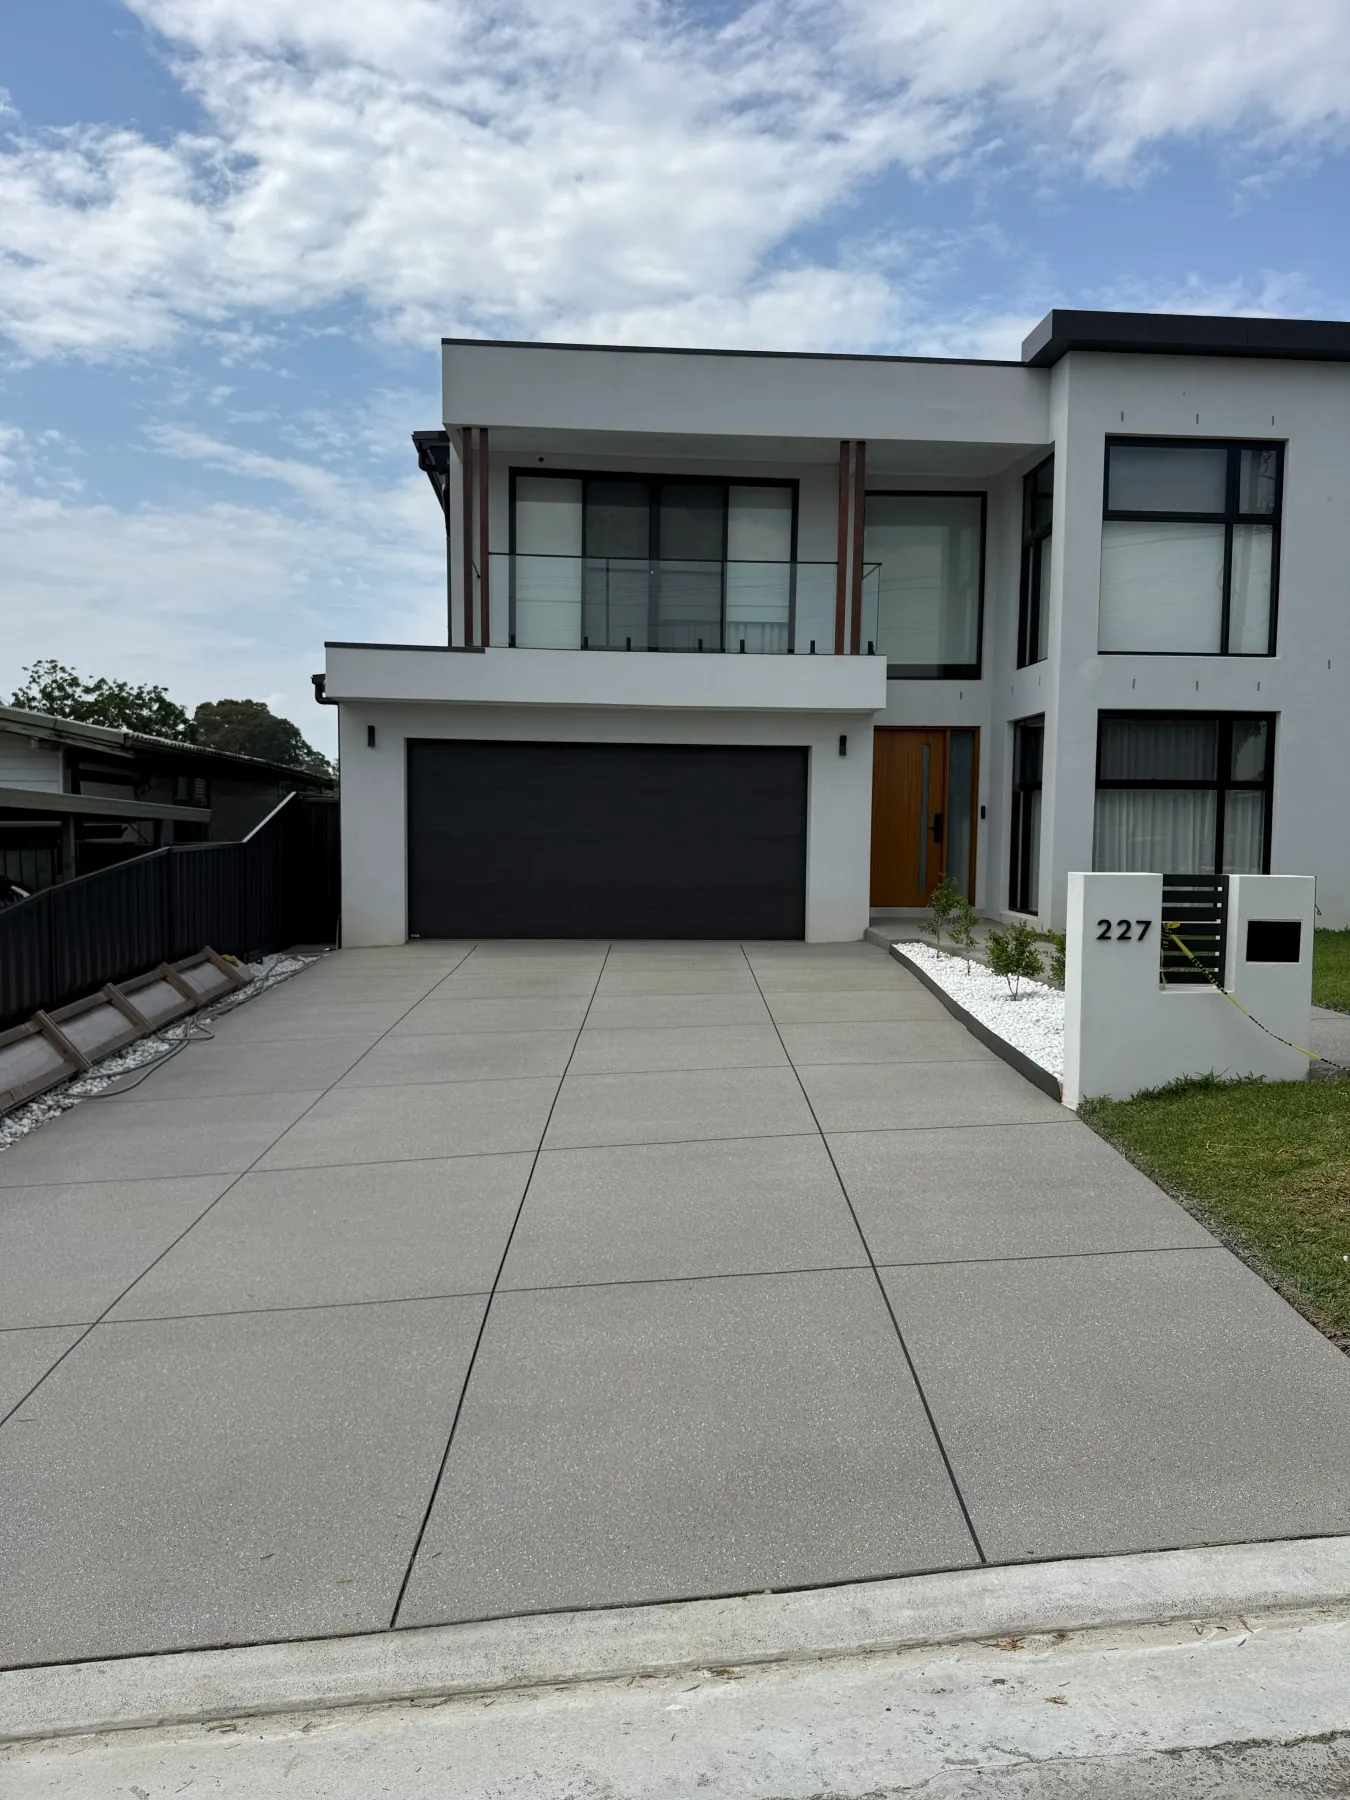
Silver Sands spray-crete driveway with large tile-box design in St Marys Spray-Crete Before
St Marys

Tile Boxes Design

  • Silver Sands + black baseline
  • Black and white flecks
Silver Sands spray-crete driveway with large tile-box design in St Marys
Plain grey concrete driveway at a modern home in St Marys before resurfacing
Before After

Drag the line to compare

St Marys · Spray-Crete · Driveway & entry path

Tile Boxes Design

A modern two-storey home with a wide, plain grey driveway. We resurfaced the driveway and front path in Silver Sands over a black baseline, with black and white flecks and a large tile-box design that lines up with the clean lines of the façade.

Location
St Marys, NSW
Surface
Driveway & entry path
Design
Tile boxes
Colour
Silver Sands + black baseline
Flecks
Black and white
French Grey Ashlar Slate stencilled spray-crete driveway in Castle Hill Spray-Crete Before
Castle Hill

PebbleCrete to Ashlar Slate Stencil Pattern

  • French Grey + white baseline
  • Black flecks
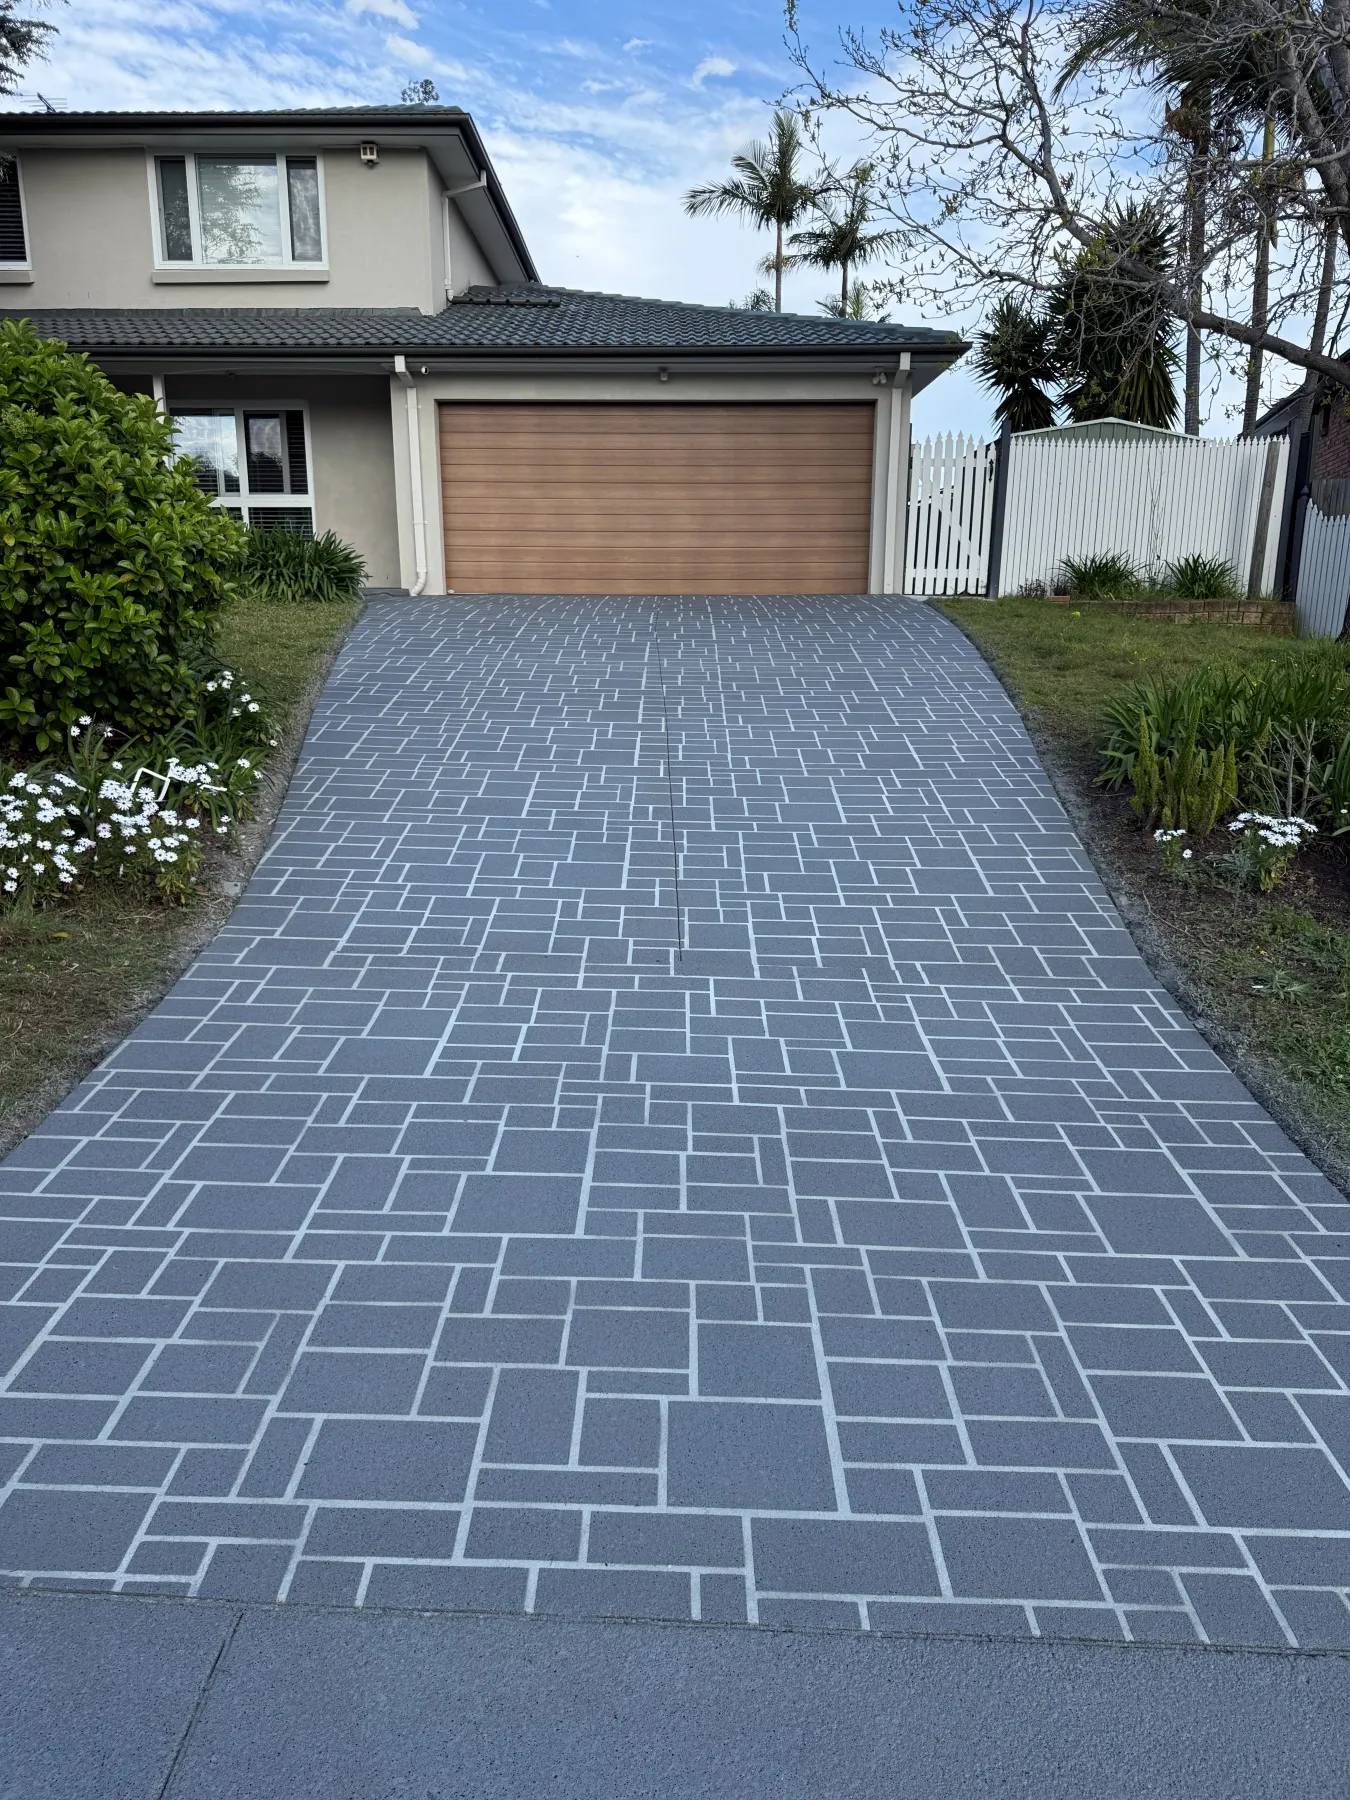
French Grey Ashlar Slate stencilled spray-crete driveway in Castle Hill
Worn brown pebblecrete path in Castle Hill before resurfacing
Before After

Drag the line to compare

Castle Hill · Spray-Crete · Driveway & paths

PebbleCrete to Ashlar Slate Stencil Pattern

Worn brown pebblecrete on the driveway and front paths. Rather than ripping it out, we resurfaced over it in French Grey with a white baseline and black flecks, finished in an Ashlar Slate stencil pattern.

Location
Castle Hill, NSW
Surface
Driveway & paths
Original surface
PebbleCrete
Pattern
Ashlar Slate stencil
Colour
French Grey + white baseline
Flecks
Black
GunMetal spray-crete driveway with star compass feature in Leppington Spray-Crete Before
Leppington

Tile Boxes Design + Star Compass

  • GunMetal + black baseline
  • Bluegum flecks
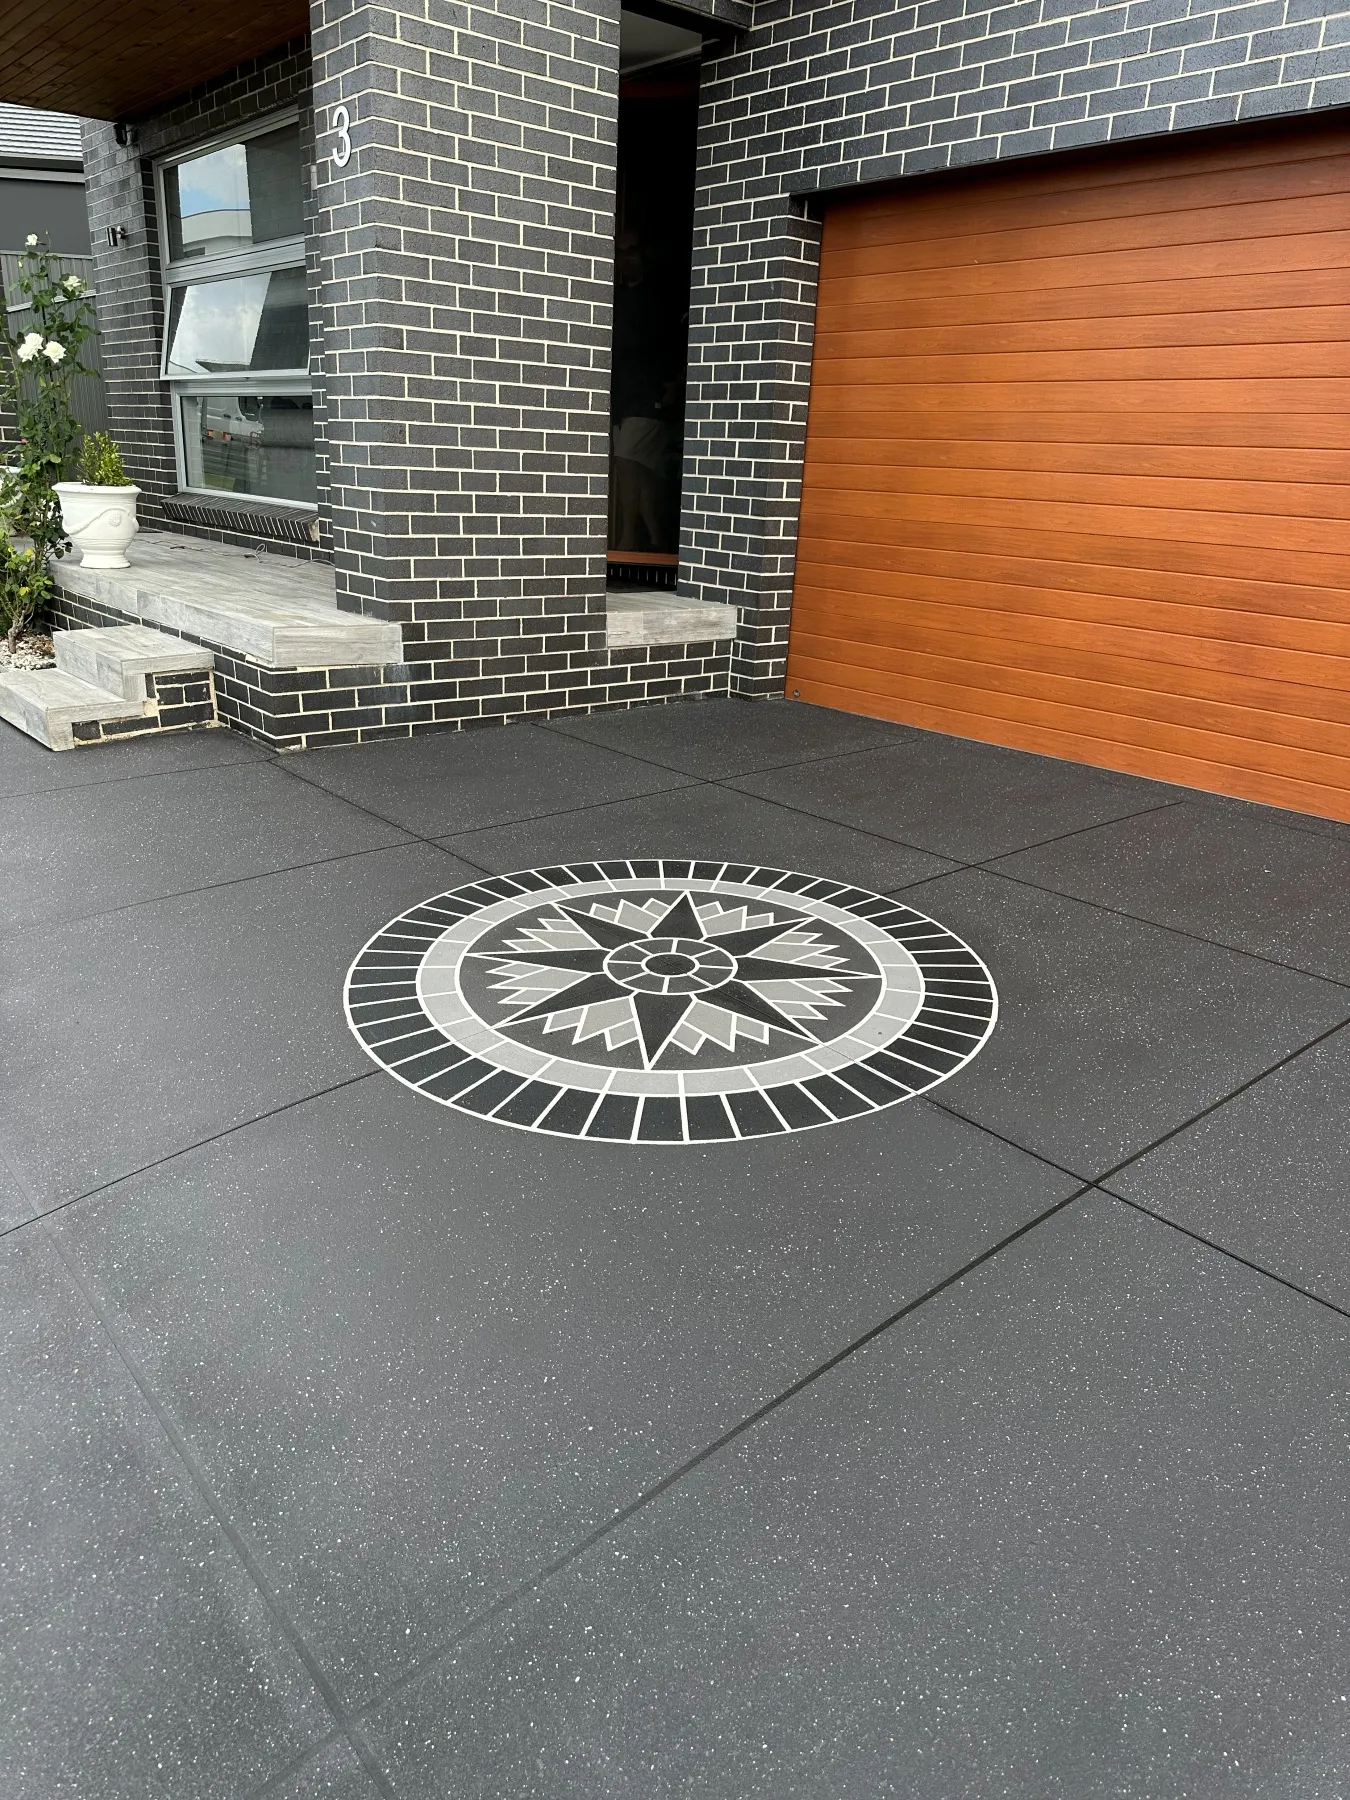
GunMetal spray-crete driveway with star compass feature in Leppington
Plain dark concrete driveway in Leppington before resurfacing
Before After

Drag the line to compare

Leppington · Spray-Crete · Driveway

Tile Boxes Design + Star Compass

A new home with a plain driveway. We finished it in GunMetal over a black baseline with Bluegum flecks, a tile-box design and a star compass feature in the centre that sets off the timber-look garage door.

Location
Leppington, NSW
Surface
Driveway
Design
Tile boxes + star compass
Colour
GunMetal + black baseline
Flecks
Bluegum

Gallery

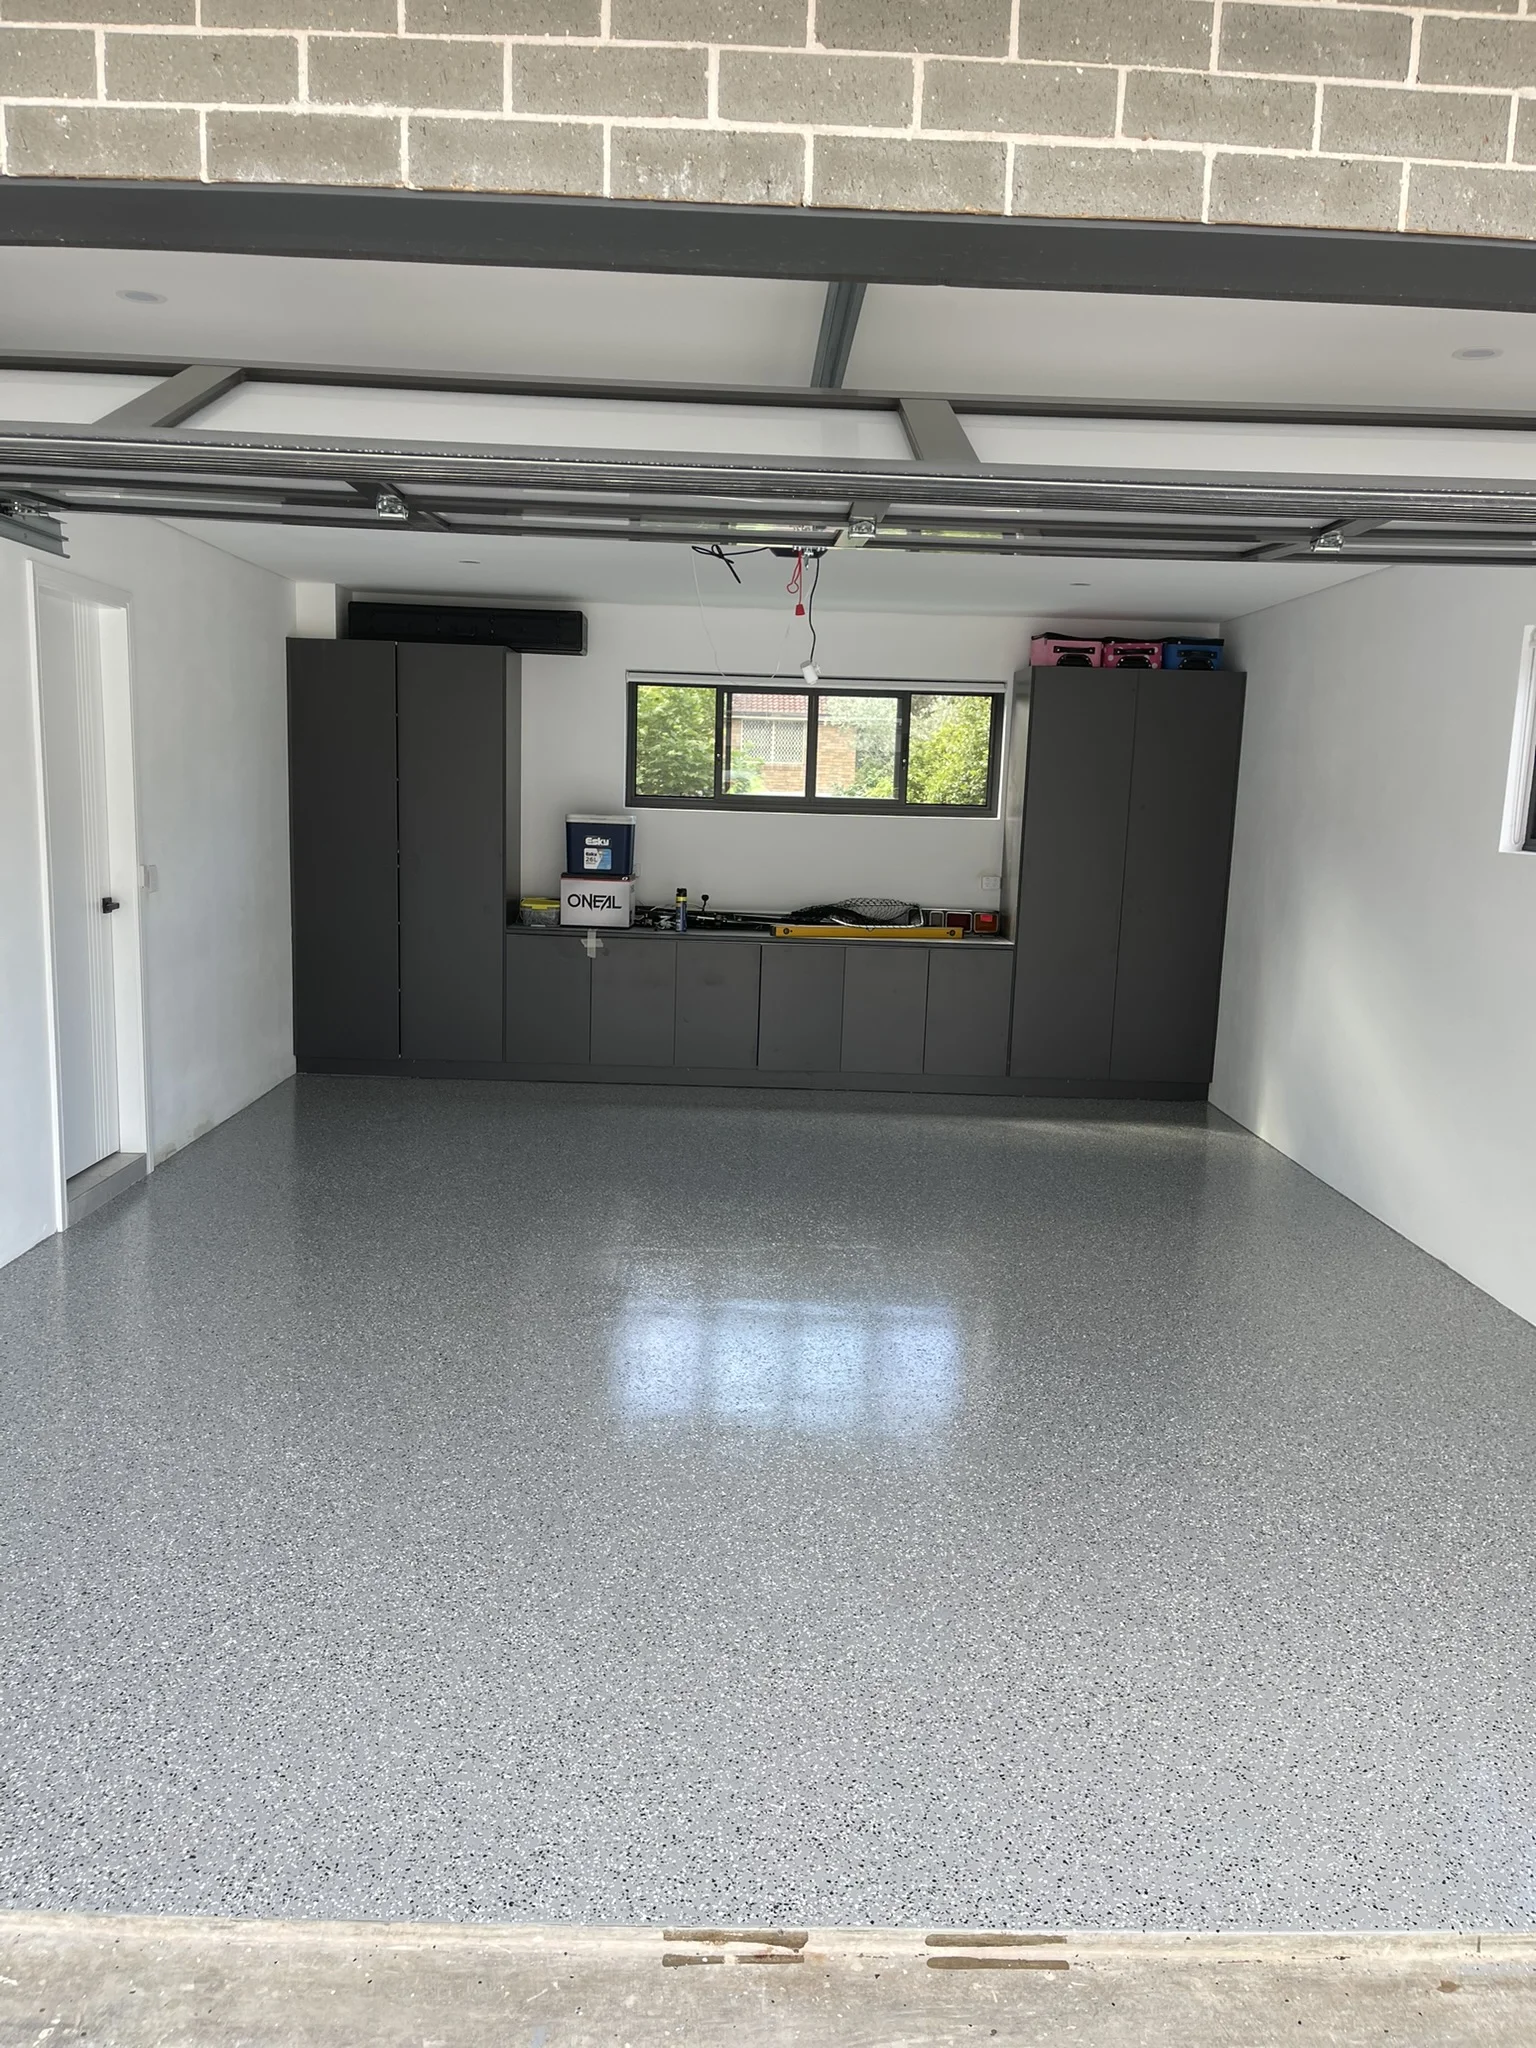
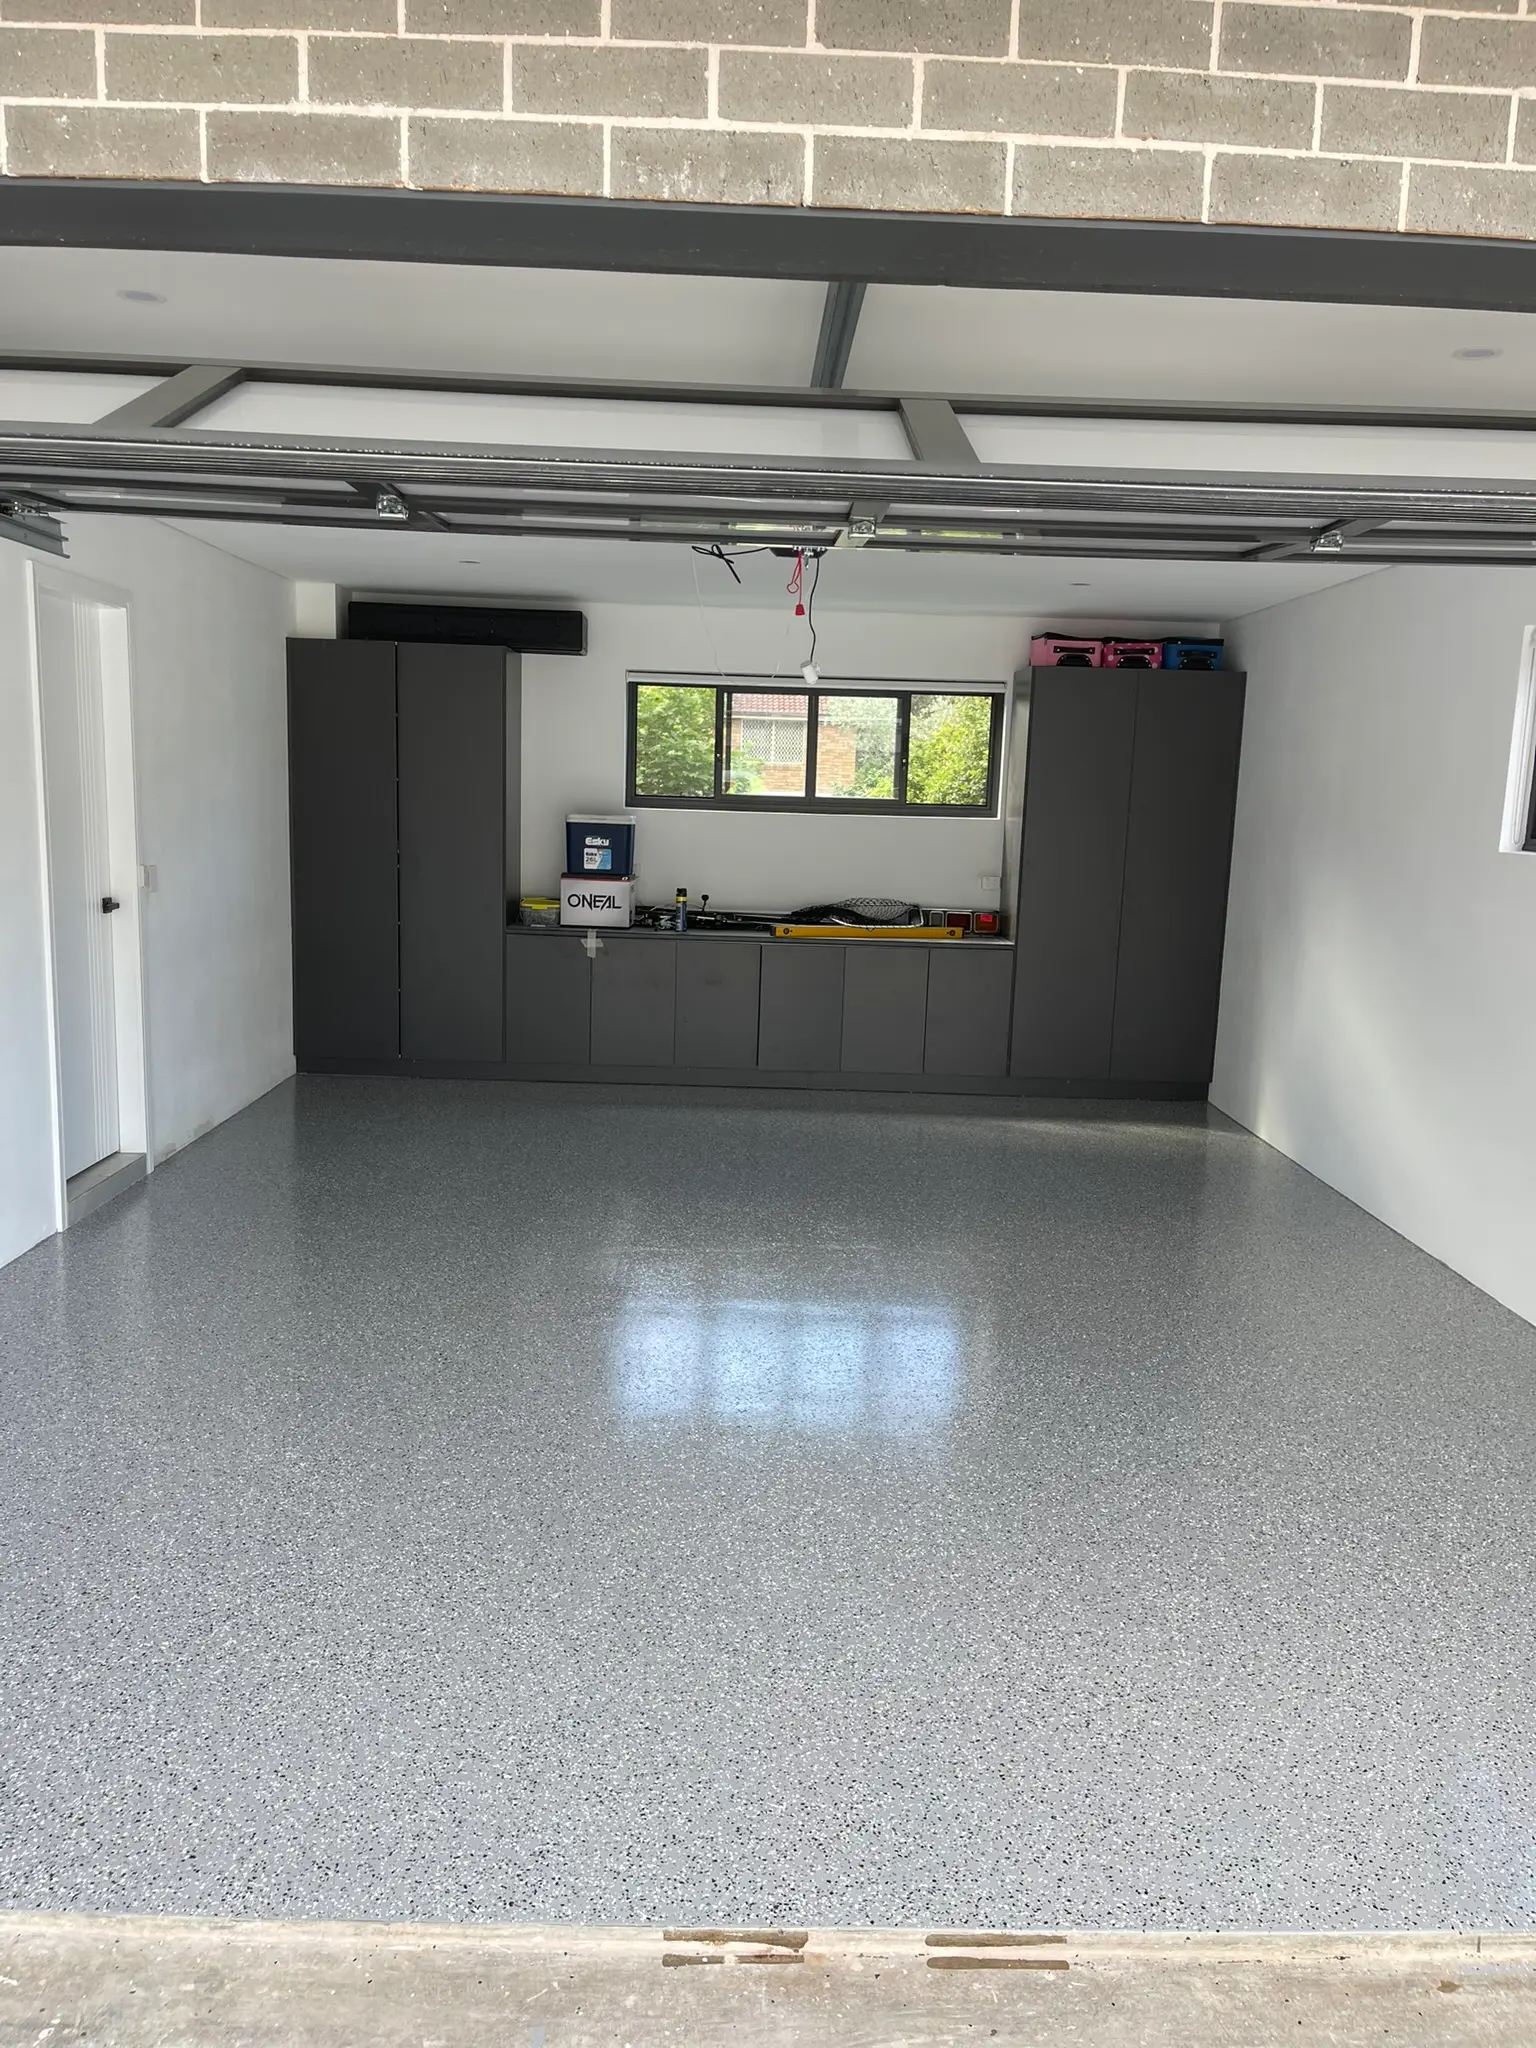
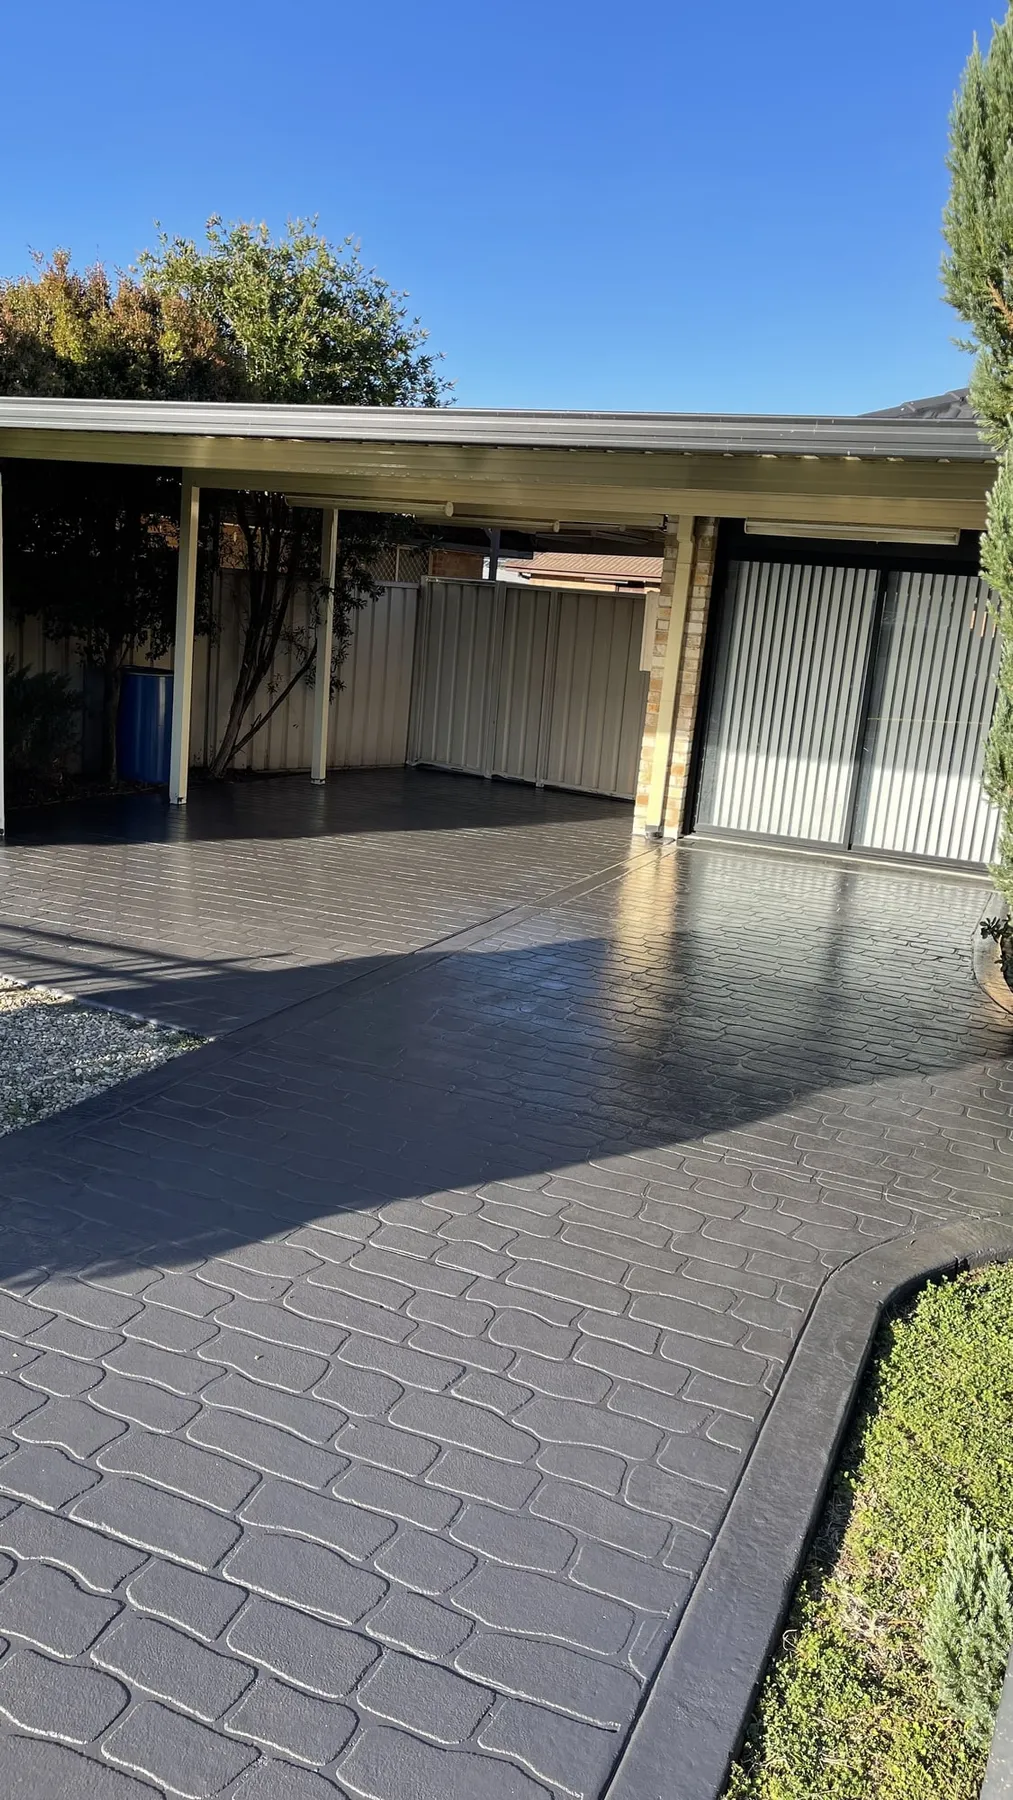
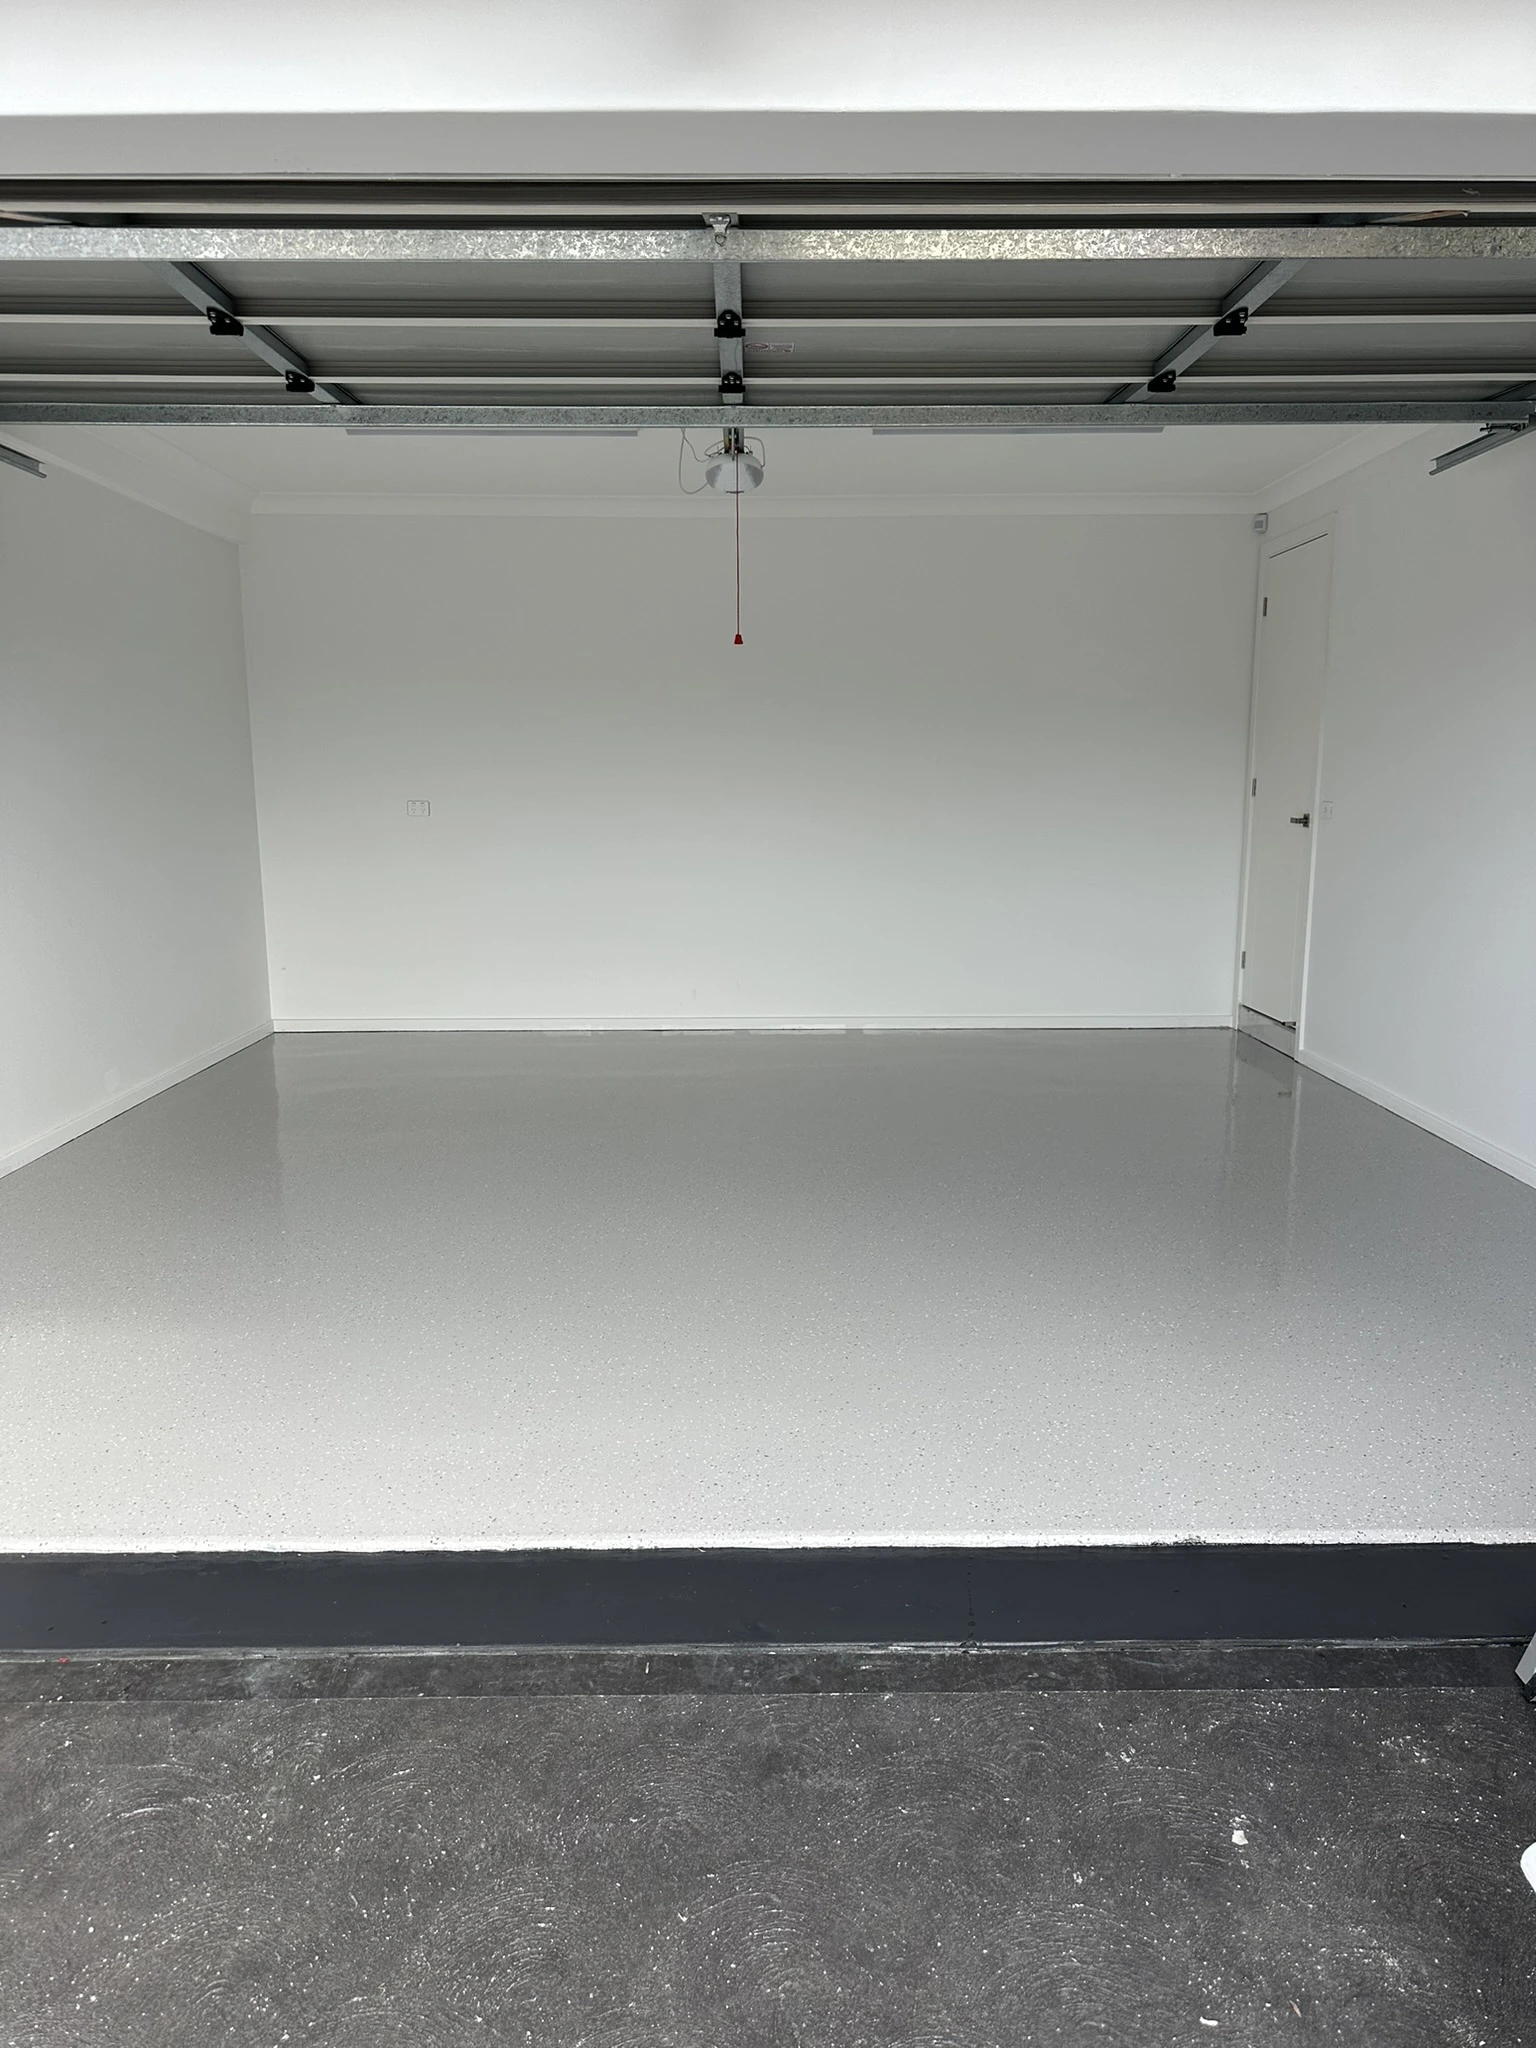
From bare slab to finished floor

How it works

Four steps. No surprises.

You’ll always know what’s happening, when, and when you can use the surface again.

  1. 01

    Free measure & quote

    We check the slab, measure up and bring real colour and pattern samples. You get a clear written quote.

  2. 02

    Preparation

    Pressure cleaning or diamond grinding, crack and spall repair, masking. The part that decides how long it lasts.

  3. 03

    Apply the system

    Base coats, colour, flake or stencil pattern, applied in the right conditions at the right thickness.

  4. 04

    Seal & hand over

    Protective sealer, then a walk-through of cure times and simple care so it stays looking new.

FAQs

Concrete grinding: your questions answered

Can’t see your question? Ask us directly, we’re happy to help.

Do I need grinding before epoxy?

Yes. Epoxy needs an open, clean surface to bond to. Grinding is how we get the slab ready, and skipping it is one of the main reasons DIY coatings peel.

Can you remove an old coating?

In most cases, yes. Old paint, sealers and worn epoxy can be ground back to sound concrete. We will check what is on the slab at the free measure.

Can a ground slab be left as the finished floor?

Often, yes. A sound slab can be ground, cleaned up and sealed for a simple honed look. If the slab is heavily patched or stained, an epoxy finish usually looks better.

Free quote

Let’s look at your concrete.

Tell us a little about the job and we’ll arrange a free on-site measure and quote. Prefer to talk? Call Ray directly.

  • Free on-site measure & colour samples
  • Most homes done in 1–5 days
  • Proper prep: grinding, crack repair, sealing
Call or text 0473 098 092

What do you need?

Free and no obligation. We’ll call you back to talk through your job.